
My brother in law showed me Orlog from Assassin's Creed Valhalla, and the two of us were discussing making a physical version we could play together. They do sell official sets, but they're expensive, and the included items like the plastic bowls kinda rubbed us both as "inauthentic", for lack of a better word. But I'm a woodworker for goodness sake! What is it, some dice, some bowls, some rocks? I can make some wooden cubes! I have a lathe! I have a rock tumbler! I can do better! Well, maybe. I'll post more about the finished Orlog set if I ever get it finished, but for now I'll talk about the dice making jig I came up with.


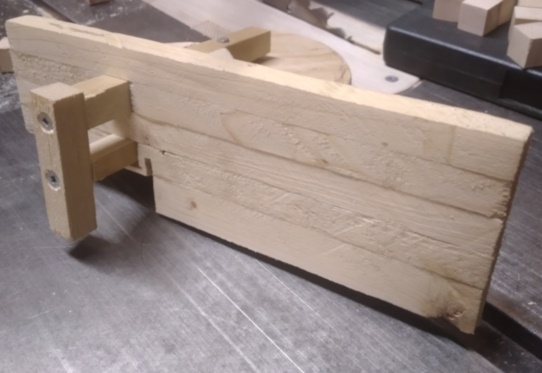
Remains of my first jig.
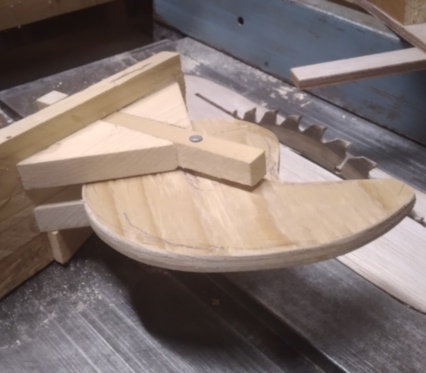
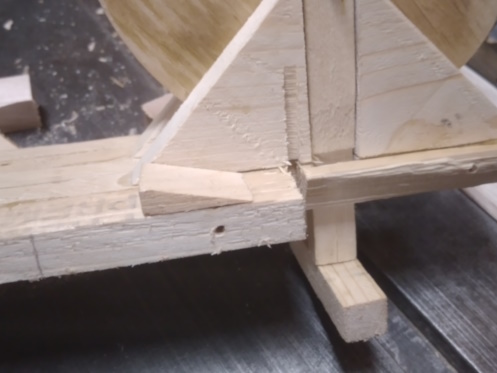
My first jig prototype was essentially a small table saw sled with a "track" to hold the stock straight, a stop block with a screw for adjustment at one end, and a funky cam clamp to hold the cut die and prevent it from getting damaged and/or blasted out by the saw blade. The pictures here were taken after it was cannibalized for its fasteners, so just the fence and cam assembly are visible. I constructed the fence out of strips of wood glued together to easily create the square holes for the movable parts, and the cam itself was cut from a piece of scrap plywood. Everything worked fine, and the clamp sure clamped, but there were some definite issues. The most egregious was that this jig was sized for 3/4" cubes, which turned out to make for very cumbersome dice when rolling more than a couple. Orlog uses 6 dice per player, so that's no good. The other main thing was that the cam action was kind of "crunchy", and it was a pain to return it to its open position.

Detail showing the safety wedge, to prevent my thumb from moving over too far.
It definitely worked, but it had a lot of issues, and I didn't have any hardwood thick enough to make 3/4" cubes anyway, so there it sat unused for a year. A year later, re-invigorated to make the Orlog set again, I went to re-work the jig a little to make 1/2" cubes instead (the size I remember the die I measured being, which was wrong, so in th end I used 5/8", which was perfect), and found that the solid wood runner I had used swelled enough that it no longer fit in my miter slot. It was, of course, well and permanently glued to the sled, so I figured I'd re-make the jig and fix the problems I had.


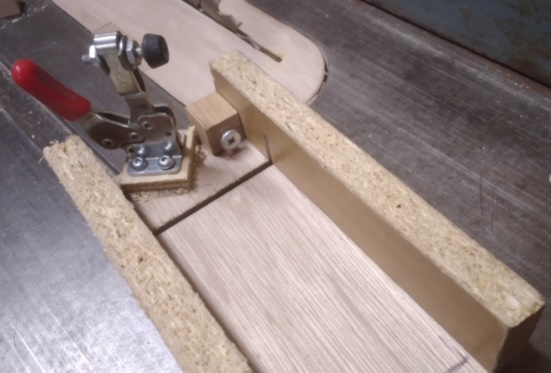
The new and improved jig.
The new jig has plywood runners, which is what I mainly use these days anyway, and what I should have used on the original. It also features an off the shelf cam clamp that I took from another jig for making hexagons that was hogging two(!!) of them despite not seeing much use in a long while. The adjustment screw is a funny little pancake head screw leftover from my roofing days, because of its large bearing surface, but a normal flat head wood screw would probably work just as well. There's no guide to hold the stock in place, which has the advantage of size not being an issue so long as you adjust the stop screw, but the trade off of it being more likely to not cut square, so I'll probably add one after.

Solid maple dice ready for marking.
Being careful with sanding on a hard, flat surface, and checking often with a precise square and calipers will make sure your dice are as cube-like as possible. I'm not very careful so mine are a little wonky, but still within around 0.010" so that's good enough for me. I think worrying too much about accuracy with wooden dice is fighting a losing battle, because there isn't really a way to ensure consistent density throughout the entire die, and expansion will ruin any careful measurement anyway, or maybe that's just what I'm telling myself because a couple of the faces were a little out of square.