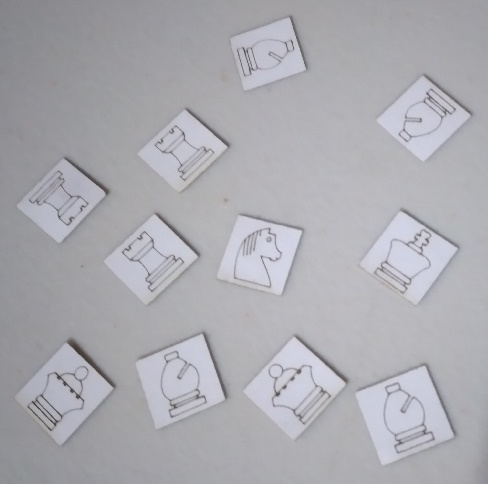
Recently, I was experimenting with cutting and engraving different materials on the laser, notably leather (which stinks!) and cardboard. Being so thin, the cereal box I was using as a test piece burnt through extremely quickly on my normal setting (expected), and I found setting the power to 0.25x yielded a very nice engraved image. This got me thinking about making stickers; my usual method involves printing them onto shipping labels, then carefully cutting them out, but seeing as I don't own a printer and have to travel to a family members house to use theirs, it'd be nice to be able to do it on the laser.
I set about making stickers for a set of four chess dice; I couldn't do anything with colour, obviously, and I've wanted a set of proper chess dice for a while, so it was a nice fit. I've made custom dice using stickers twice before, both for Bengale sets. The first one was just plain printer paper cut and superglued to some dice, which is functional but ugly, as the superglue makes the paper transparent and prone to fingerprints during alignment. The second one used my shipping label method, and produced a very beautiful set of dice.
I'm in the midst of finalizing a set of print and play chess dice, using unicode chess symbols from a number of different royalty-free fonts that support them, but I decided to make a new set to hopefully avoid the fanagling that comes with using fonts with LaserGRBL. All I did was take a screenshot of the pieces from the set I use on chess.com, Luca, and trace them in Inkscape. Simple! Then, I measured my dice, which had 15mm wide faces, and centered the pieces in a 12mm square. I found out after I should have used a slightly bigger square, 13 or even 14mm, as the pips of the six face poke out a little, but it was good enough for my testing.
Then I arranged all the pieces in a rectangle the same size as my shipping labels. I made three files: one with just the pieces in their squares, one with only the squares, and one with just the rectangle; I burnt this into my table to help with placing the labels. My plan was to do the engraving pass, including the squares marking off the faces, then do a cut pass, with just the squares. The labels were fastened down with a little masking tape along two edges.

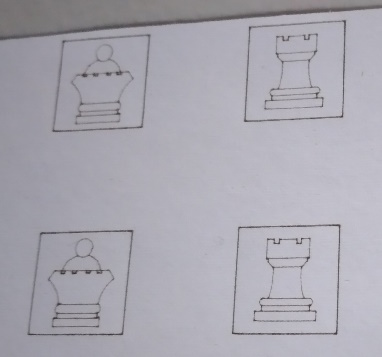
0.25x power.
Following my experiments with engraving cardstock, I set the laser to 0.25x power and at first glance, it looked almost perfect: very dark lines, though with an almost imperceptible amount of burning on the faces. The cut pass freed them from the rest of the label, which also made me realize my air system was blowing the cut stickers around. With the air turned off and all stickers recovered and safe, I got to peeling them off their backings.

Also 0.25x power.
The bad news, is while it didn't cut through the entire label, it did cut through the entire adhesive layer, meaning when I peeled the backing off, all the components of the sticker stayed on. Whoops! This gave me an idea, though, to use that for the final cut pass, making it easier to free the stickers from the backing, and keeping all of them on one sheet (like real stickers!).
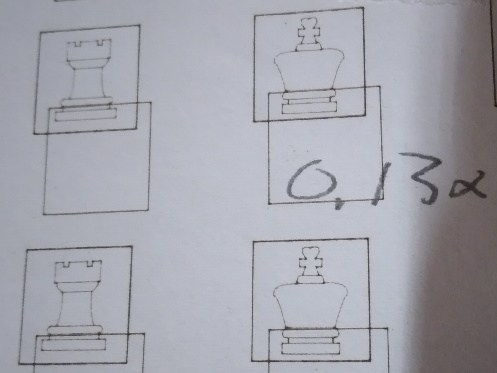
So, I had to find a lower power level to do the engraving at; 0.10x turned out to be very, very weak, but it might be okay for shading. 0.15x made a near perfect engraving and didn't burn completely through the adhesive layer (mostly), but there were a couple dark spots on the back that made me nervous. 0.13x was the last one I tried, and while it did solve the burning on the back, the lines weren't as defined as I wanted. Considering the king and queen stickers engraved at 0.15x came off the backing without any problems despite being the busiest pieces, I figured it wouldn't be a problem, and tried it again.


Left: 0.13x power. Right: 0.15x power. The difference doesn't come through clearly in the pictures.
This time, I went back into Inkscape and changed the engrave file to exclude the squares around the faces; this way, I could engrave at 0.15x, and cut at 0.25x, and hopefully, it'd only cut through the adhesive layer again, and I'd be able to peel the stickers nicely from the backing. This actually worked almost perfectly; the engraving was super crisp, and the cut pass only cut the adhesive layer and kept the backing intact (mostly; the closer it got to the top of the sheet, the deeper it got, which I chalk up to a bow in the labels. When I do this again, I'll try it at a slightly lower power, 0.20x or 0.23x).

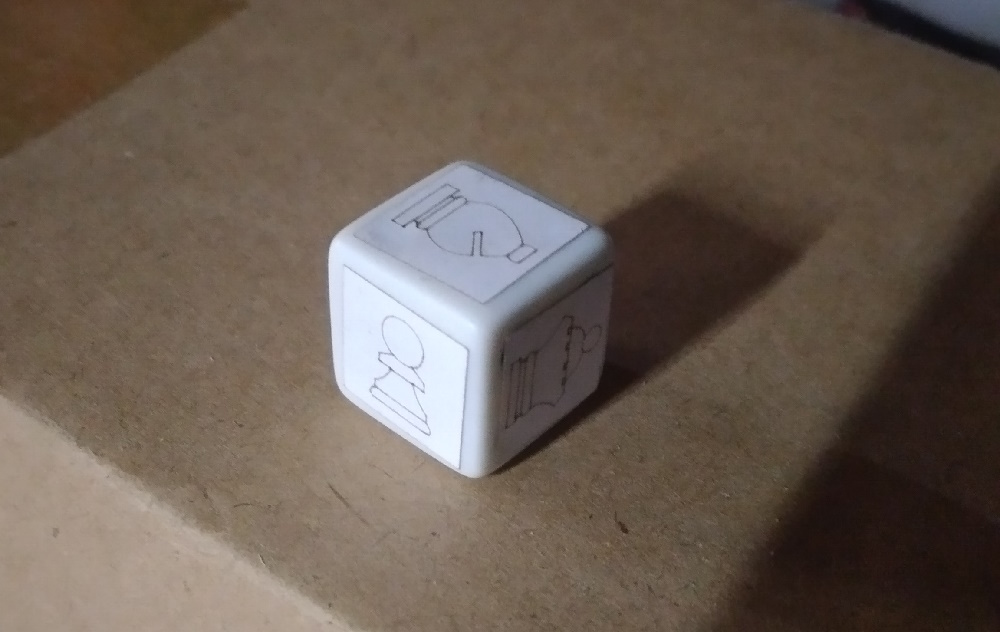
One of the finished dice.
Peeling the stickers off the full, intact backing is a million times easier than trying to fiddle with the tiny squares, and even though I'm less than stellar at the actual sticking part, the final dice turned out very attractive. When the first two were done, I was even able to play a game of Dice Chess with my brother to test them out. :^)